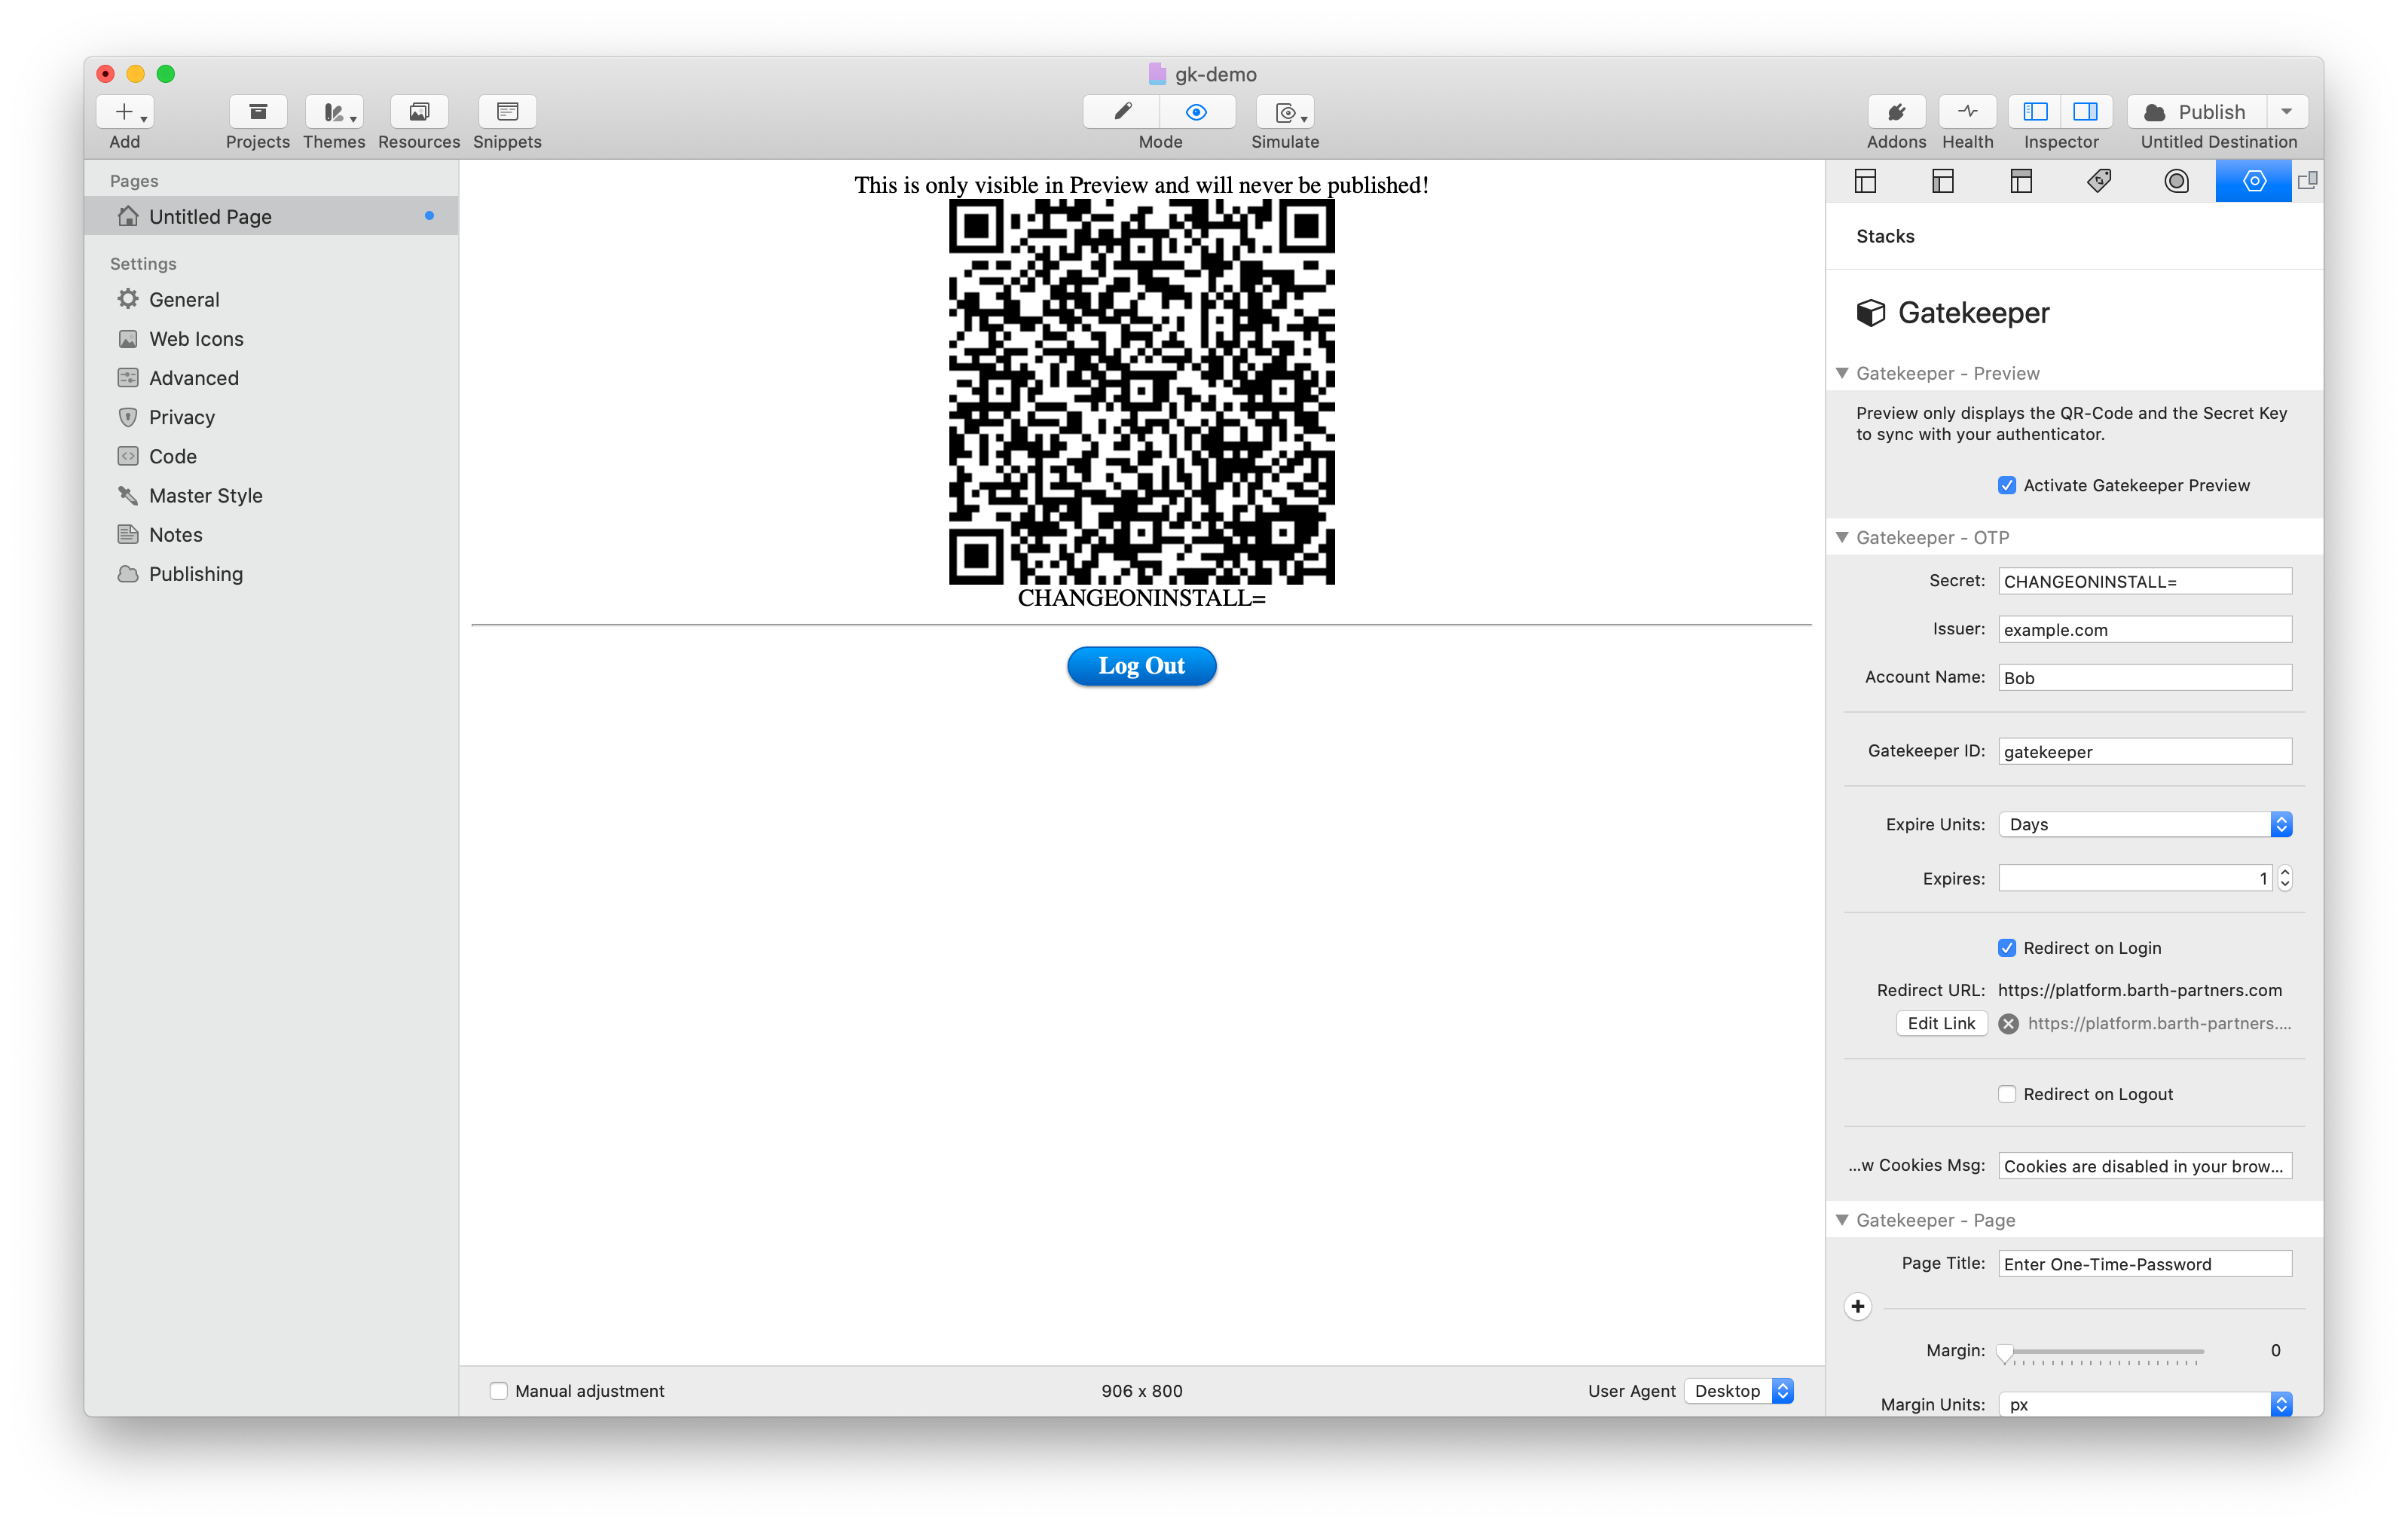
The Gatekeeper stack provides the core of this suite of stacks:
- End-user interface
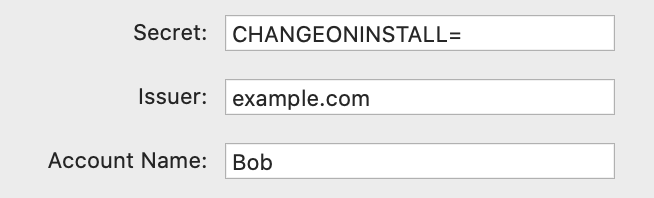
- Security parameters
- Layout settings
- Sync page (Preview Mode)
While Gatekeeper cannot be displayed in RapidWeaver Preview, the stack uses the preview mode to display the sync page, where you can scan the QR-Code.
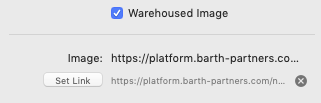
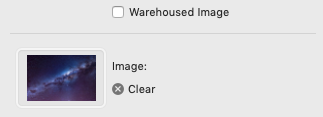
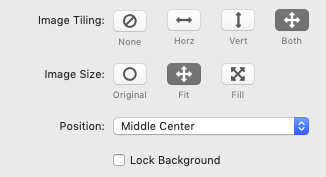
Gatekeeper - Image Backdrop
If you want your Log-In page to feature an image backdrop instead of a color/gradient, you can set this here.
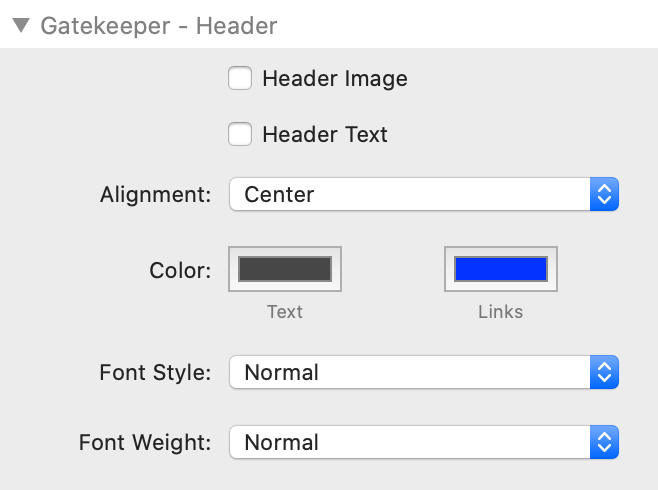
Gatekeeper - Header/Footer
The explanations in this section are valid for the Header- and the Footer-section accordingly.
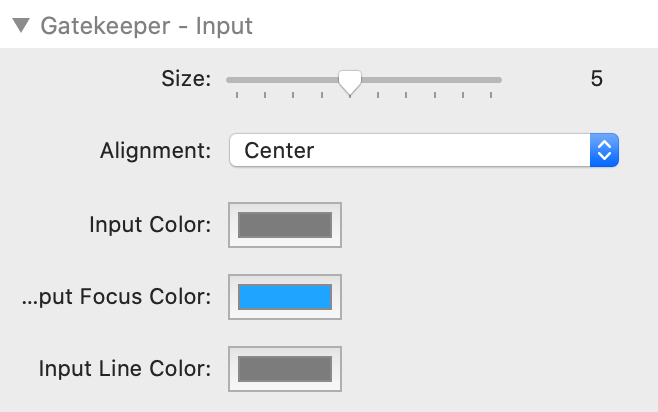
The settings in this section format the input area for the One-Time-Password.